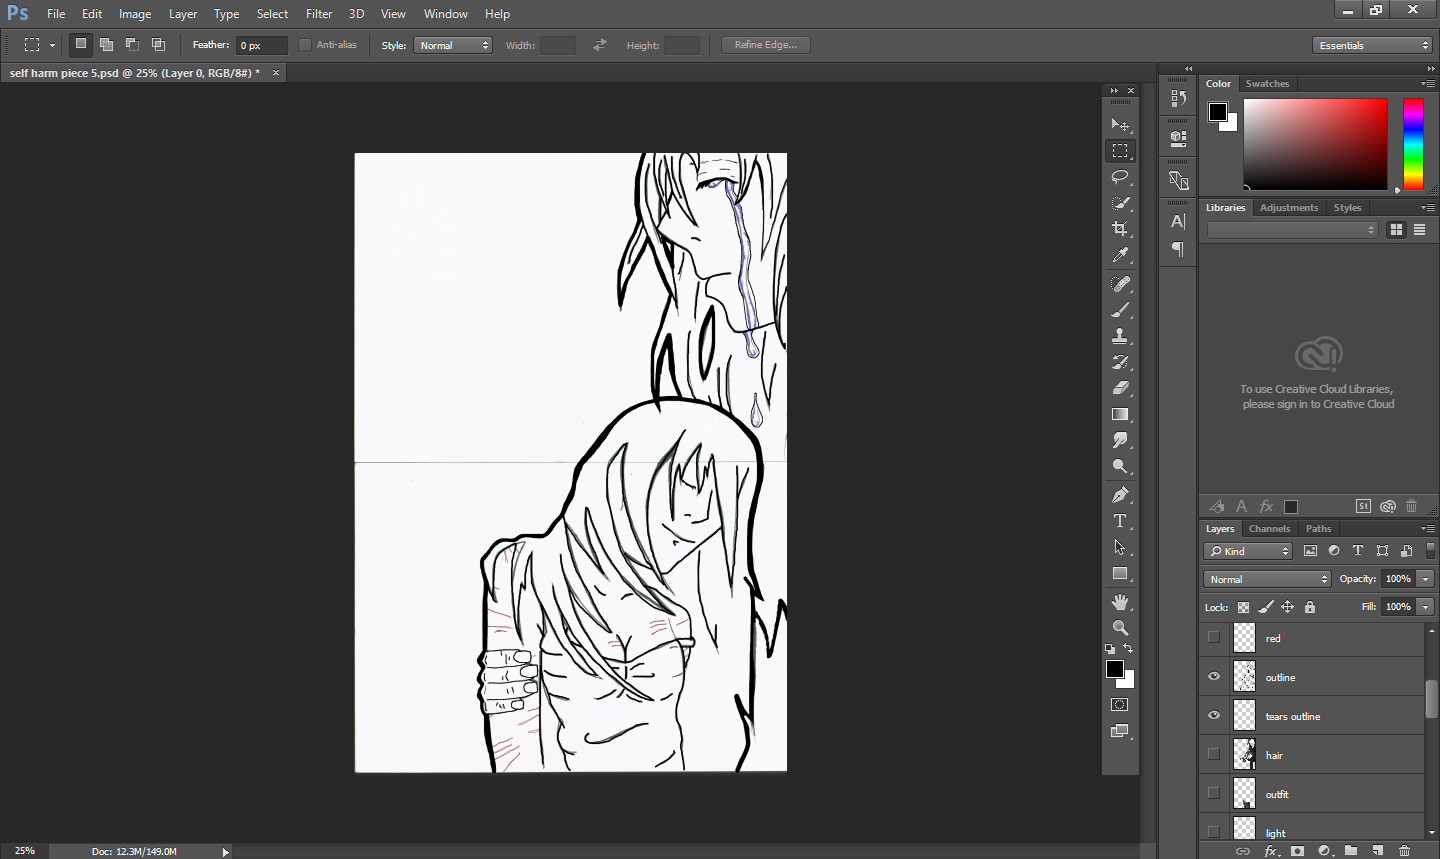
First I sketched an outline of my figures and then I scanned it into photoshop. I was going to use illustrator but my survey monkey results showed this to be less popular than Photoshop. this worked well because I am skilled at using Photoshop.
I used the brush tool and black ink as it is the most commonly used to create anime characters
Next I block coloured in the hair using a brush tool and then I used a smudge tool to blend the colours together
I repeated the same process to colour the clothes
I used the same processes and tools to create the skin tones
I used a brush tool to create the tears but I did not like the effect on the pale skin tone with the dark blue colour
I decided to change the tears colour to a light blue as it is more effective
I then added the scares by using a pencil tool and changing the colour to red. This made the scars more effective and stand out
I then removed the background and added a plain white background
Next I added the text, I summarised this from my research. I chose the font Rurirania by paul loved that I found on the Dafont website
I added my text from my research and I used text font from photoshop. I chose this font because it goes well with my theme. I like that it is victorian font style
I produced an example of my poster with corner patterns to see how this would look
I have removed the template patterns and altered the font size to my liking. I did not like the other font size because of it was too big and took up more space.
I then added my own patterns to replace the old replica patterns. I made the patterns using a pattern tool and I used a lasso tool to cut the shapes. I used the shape tool to get a shape that I liked and I chopped it into pieces and made my own shape.
And lastly I used a free vintage paper background to make it look more gothic and victorian style.


No comments:
Post a Comment